Select resources
Having reviewed the resources available, select the preferred individual by clicking on their name and then click ‘Add Resource’.

A new popup form will appear.
Add resources
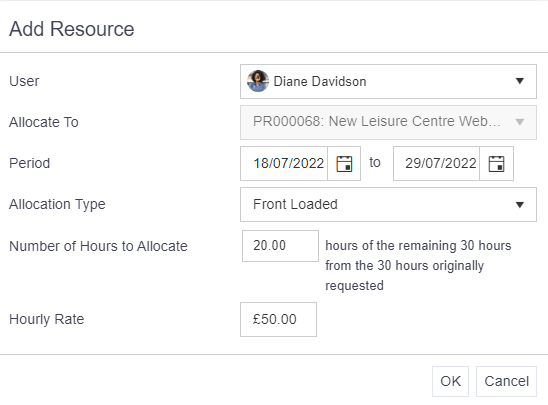
From here you can:
- Amend the date parameters, but only within the overall date parameters of the original resource request.
- Choose an allocation type (Front Load, Back Load, Plateau)
- Front Load: To allocate resource from the start date, hours will reduce towards the end of the allocation.
- Back Load: To allocate resource from the end date, less hours at the beginning of the allocation.
- Plateau: To allocate resource evenly across all available days between the start and end date.
- Choose the number of hours to allocate. If all hours aren't allocated, the Number of Hours to Allocate will reflect the remaining hours when another resource is added.
- Add in an hourly rate (this can be left blank if not needed)
Complete the form and click ‘OK’.
The screen will update and the Allocated / Required Hours lozenge at top will display the number of hours allocated and hours remaining. The resource allocation process can be repeated until all requested hours have been allocated. The lozenge at this point will turn green.
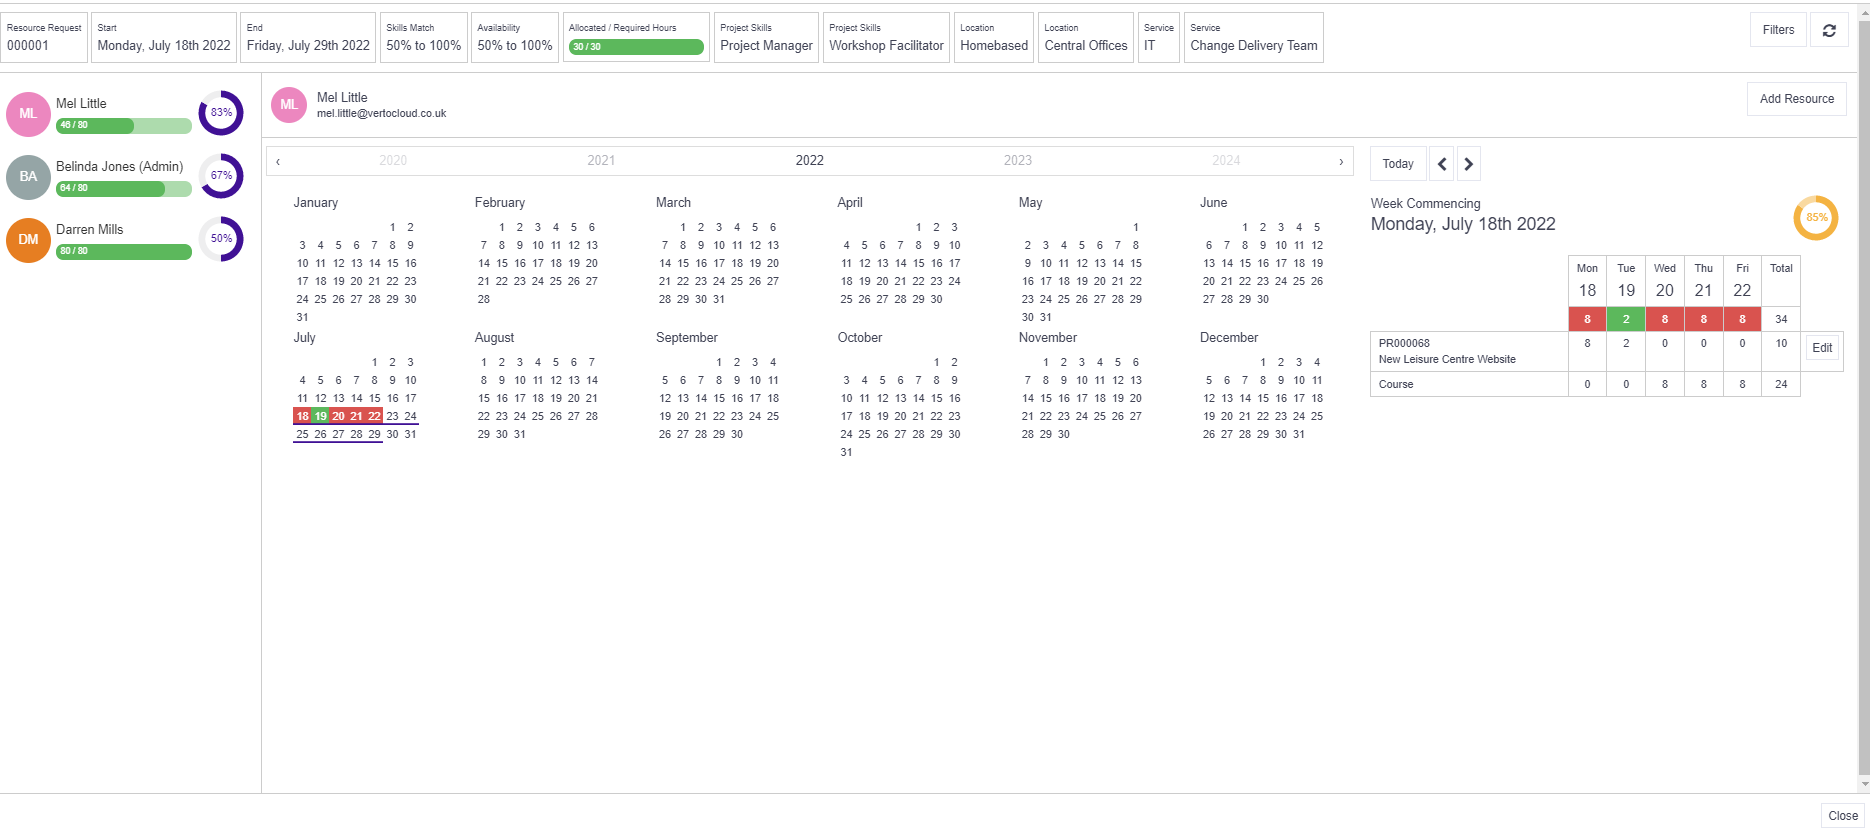
Once all hours have been allocated, close the search window.
Allocate resources
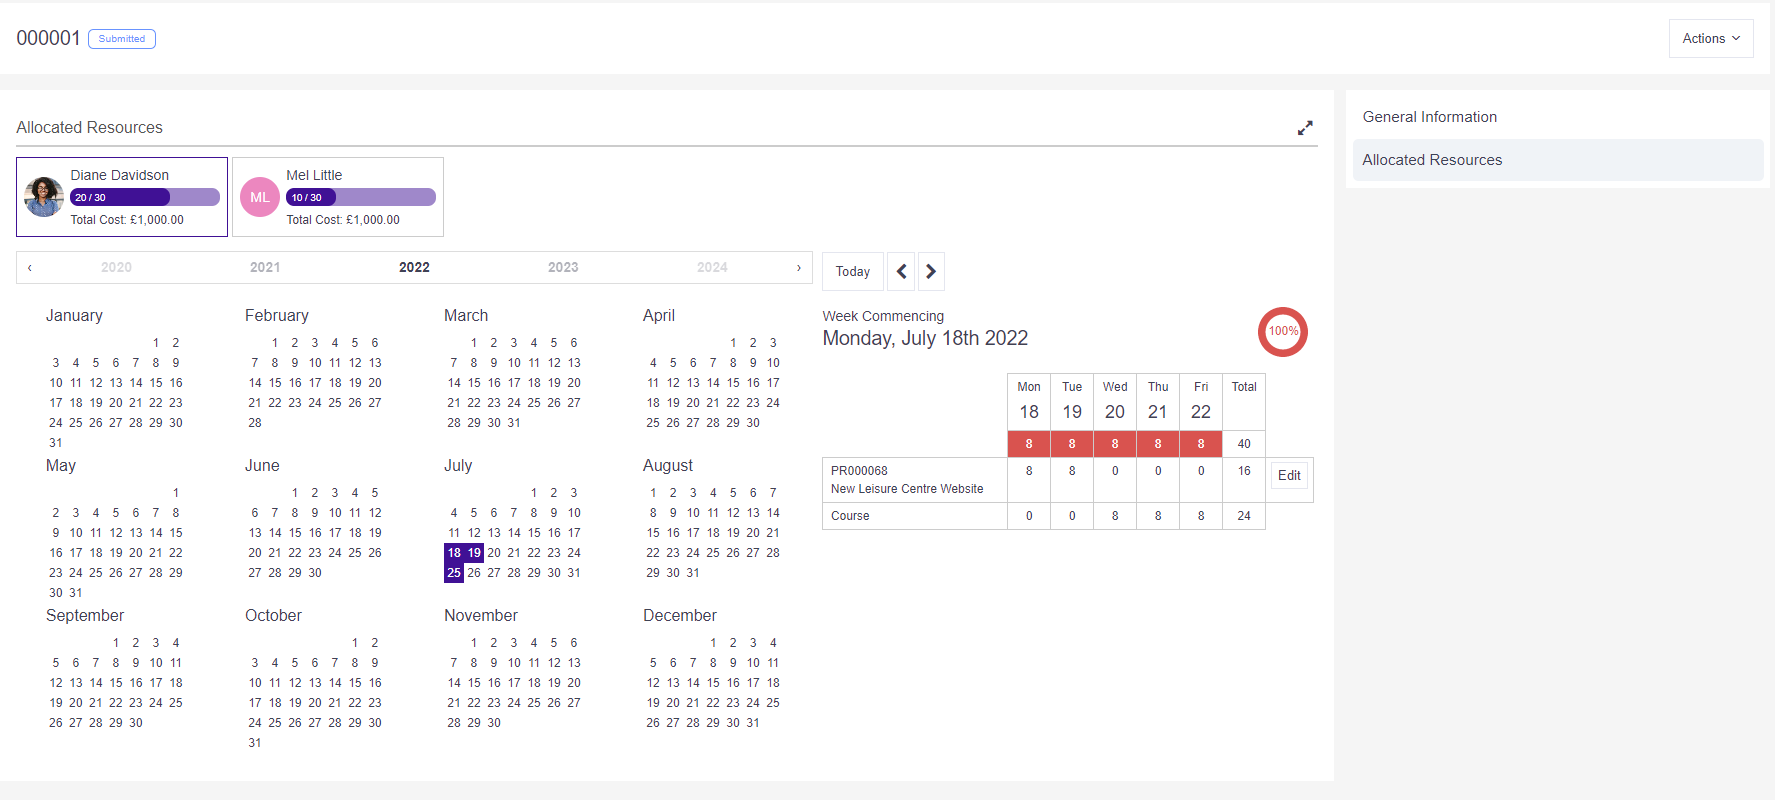
Open the original resource request and click on the ‘Allocated Resources’ navigation item to view:
- Allocated people on top bar including their total planned costs
- Weekly capacity utilisation per person
- Allocation (coloured blocks) in calendar for an individual
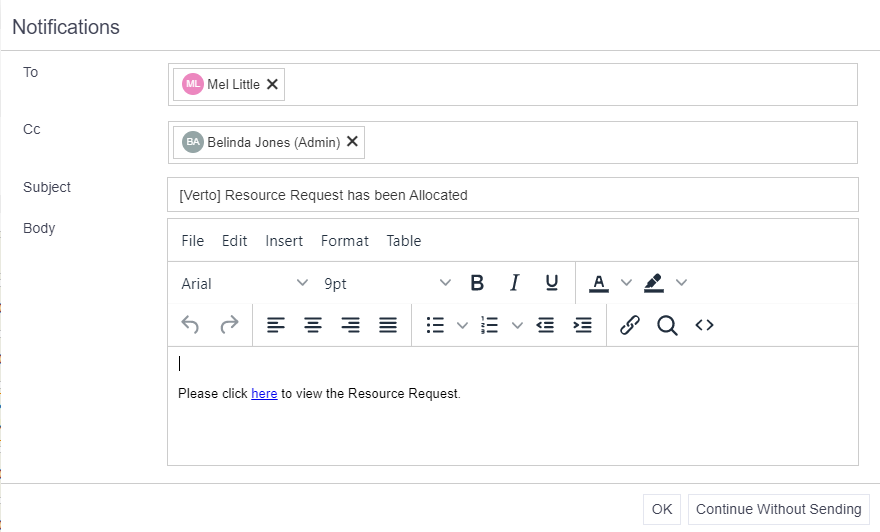
To complete the process and generate a notification to both the allocated individual(s) and original requestor, click Actions > Allocate. Note: it is only once the Allocate button is pressed that the hours are added into the individual’s calendar.
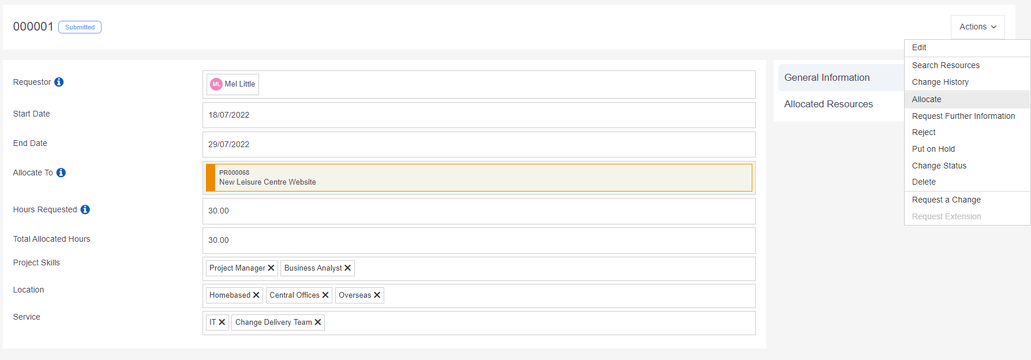
Notifications are produced upon allocation and deletion of resources – users must have these switched on to receive them.
Remember
- To allocate resources follow three key steps: Select - Add - Allocate.