Whilst in an indicator, click on the Activities icon and then use the teal toggle button to pop-out the menu. Select ‘Project’ or ‘Non-Project’.

Link to a project
After selecting ‘Project’ from the menu, click on the ‘Add’ button to reveal a search bar. Type in the name or ID of the project you wish to link your indicator to. Locate it in the search return and press ‘Select’. Repeat this process as needed until all required projects have been linked. Click away from the search bar list to close it. All selected project's will now be displayed in the list.
Link to a non-project
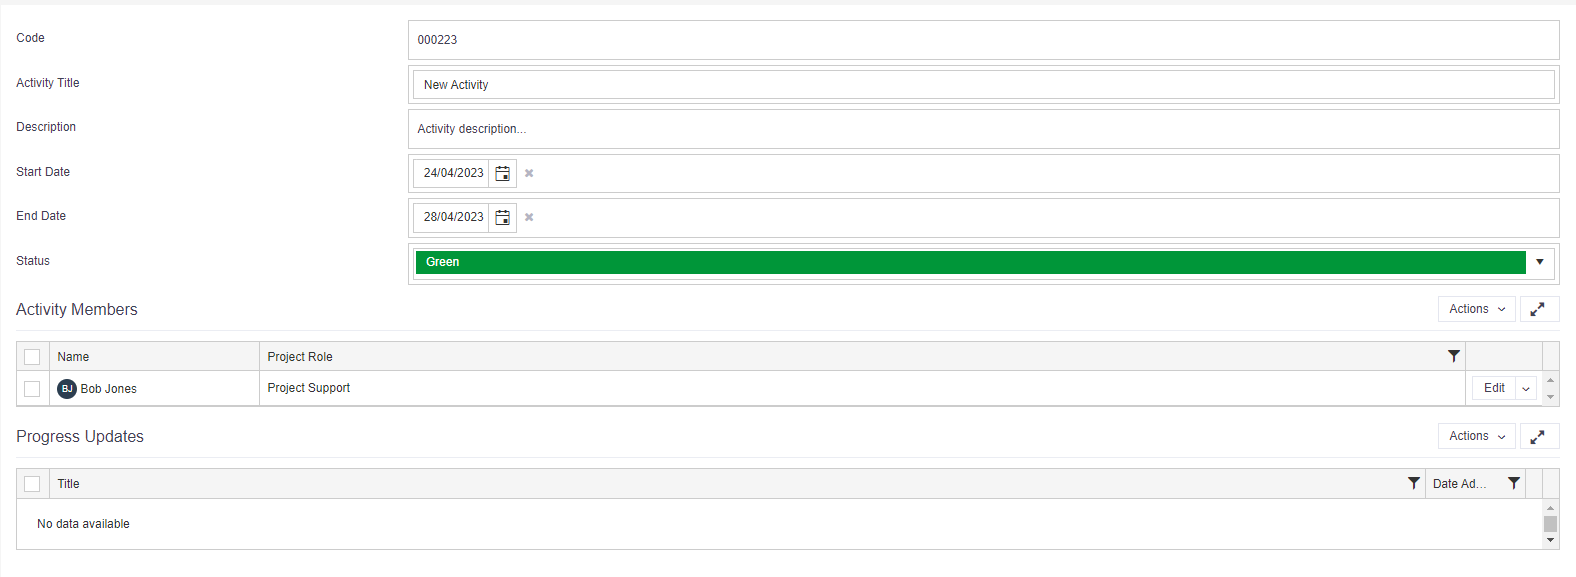
After selecting ‘Non-Project’ from the menu, click on the ‘Add’ button and a pop-up will appear. Select 'Yes' to create a new non-project activity. Complete the form.

Upon completion of the form, click on the indicator title to re-load the screen. Your new non-project activity will now be displayed in the list.

Top Tip
- Once an indicator has been linked to a project, any user on that project with a Read/Write role, will have permission to access and update the indicator.